In my last post, I wrote about the search for the perfect project bag. Those of you who follow my work know that I’m a crochet designer who spins yarn and weaves. There is something about weaving that feels different from crochet. Perhaps it’s the preparation, perhaps it’s the rhythm of passing the shuttle back and forth, or perhaps it’s simply the fact that weaving demands my attention in a different way. Whatever the reason, I find it deeply satisfying.
Bead Weaving
I suppose my weaving journey started a long time ago. I have clear memories of making a bead loom from a cleaned burger-bun box, wrapping a fine warp around it and using it to weave seed beads together to make a band. An interesting exercise, a good way to use up lots of beads, but not something I ever chose to explore further.
Weaving Braids
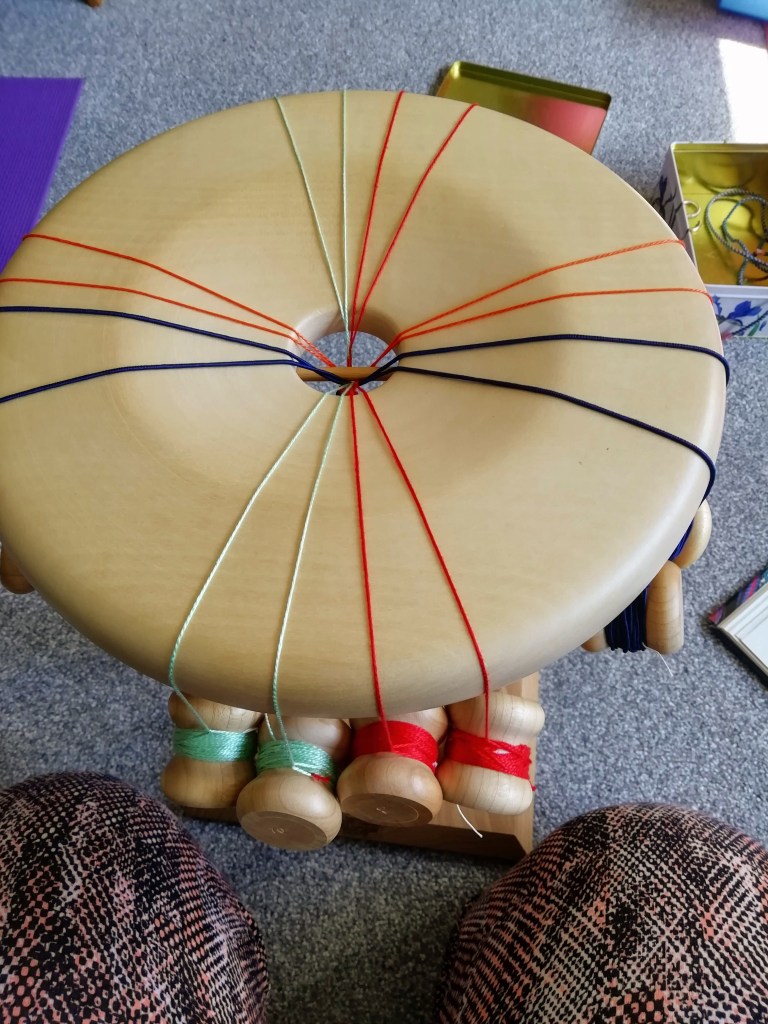
When my children were small I belonged to an Embroidery Group who had booked Jacqui Carey to run a two-day kumihimo braiding workshop. She brought with her enough Marudais for us all to use one and I was hooked. I still have the wooden Kumihimo stool I bought back then, which I use to make braids to close my crocheted bags. The same Embroidery Group also invited Shirley Berlin to do a series of workshops, which I attended. She introduced us to the myriad ways of creating a braid: using stiff card with slots cut in the sides, using a Lucet, plying and twisting to name but three. I have so many samples from these workshops of techniques I still use today.
Weaving on an Inkle Loom
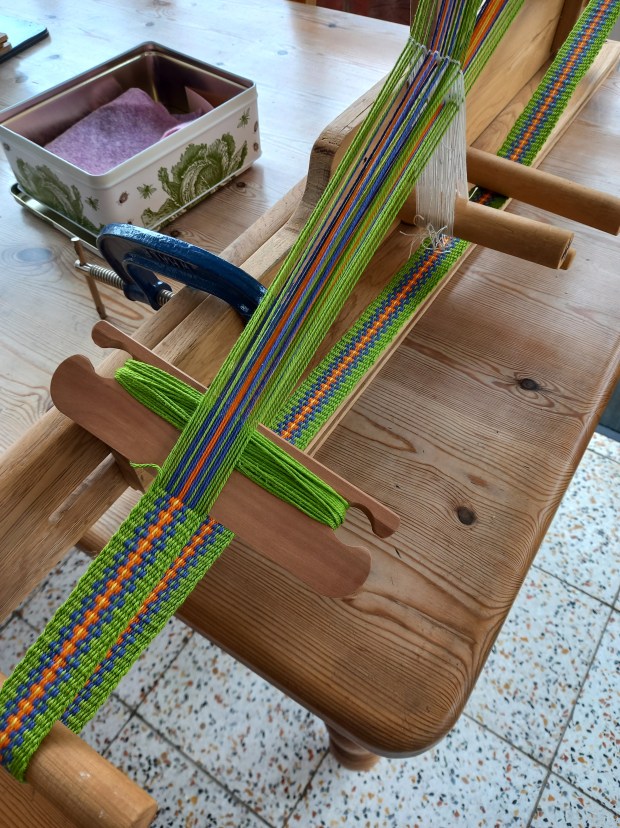
The Covid lockdown of 2020 became a turning point for my weaving. I had embarked on crocheting a Mochila bag, a very distinctive style of bag which requires a drawstring cord (hello kumihimo braid) and a wide woven shoulder strap. These straps can be plied by hand (apparently), or woven on an inkle loom. All well and good, but sourcing an inkle loom was difficult (and expensive). Not to be thwarted, I found a video on Youtube about how to construct such a loom. I also purchased a book that showed the dimensions that one should aim for. When I say ‘one’, I mean my husband. I showed him the video so he knew what he was aiming for and left him to it. He found enough timber in his shed for the project (old floorboards mostly), and a broom handle, and made me a fully functional inkle loom. It’s the only one I’ve ever used, as it does the job perfectly and I have used it to weave every strap for each of the Mochila bags that I’ve made.
Weaving on a Rigid Heddle Loom
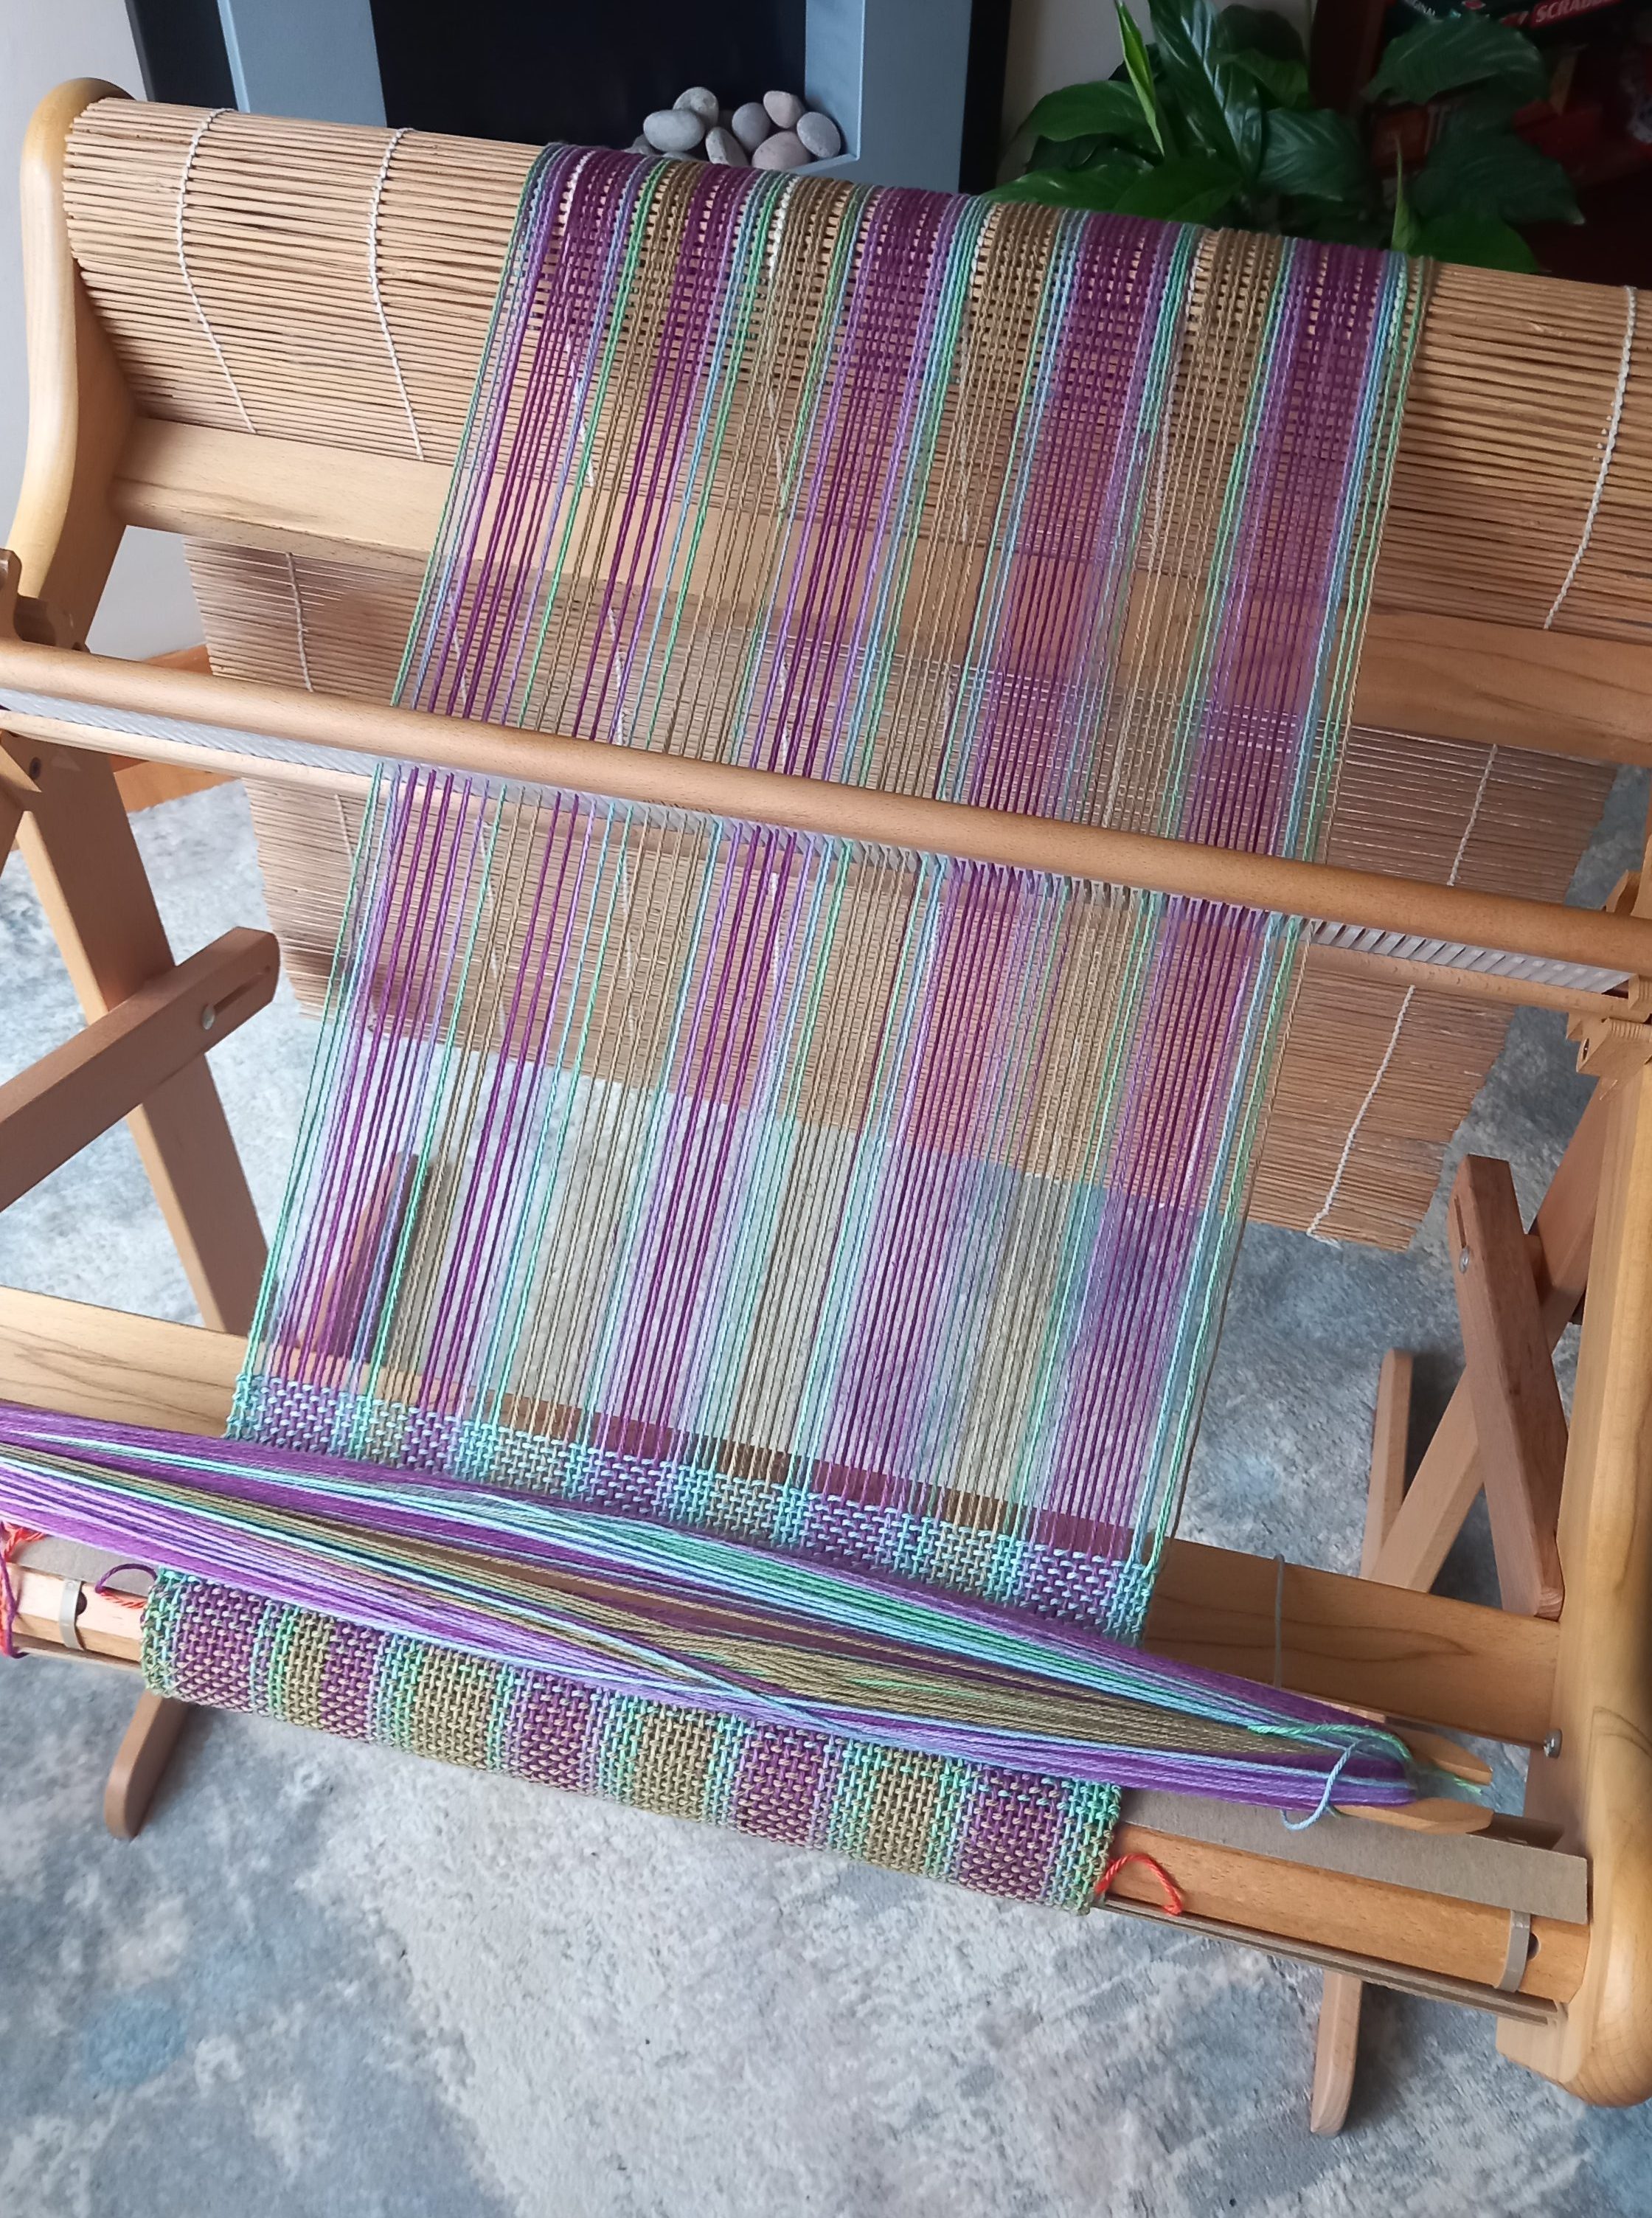
An Inkle loom limits the width of the project you can weave, and so I decided to invest in a rigid heddle loom. This seemed to me to be the most straightforward of the various looms on offer, and I really wanted ‘simple’. I didn’t want to be wrangling multiple shafts, or giving over a huge amount of space to a floor loom. The rigid heddle loom can sit on the edge of a table, resting on your lap. I used mine this way for over a year before getting a floor stand which means I can work in any room, rather than just the kitchen.
Mostly I weave scarves and wraps (big scarves). I do have an idea about what I want to weave before I start, and will have chosen my yarns and colours carefully. Warping the loom takes a good hour or more, and I enjoy making decisions about the warp and colour changes as I go. The weft is where I really get to play. Mostly, I use my own handspun yarn for the weft. It has a lovely texture to it, and I enjoy the fact that I’m using it on a substantial project. Sometimes I will use a clasped-weft technique to put a wavy line up the centre of the scarf. Other times I might insert rows of intentional holes by using the Leno technique. I almost never weave to a pattern – I like to just weave, without worrying about maintaining a rigid pattern, while listening to an audio book. Currently I’m listening to ‘The Inheritance’ by Mark Dawson, an Atticus Priest mystery novel read by Simon Vance.
Perhaps that is what weaving gives me that crochet doesn’t. When I’m designing a crochet pattern, I’m constantly thinking about whether something will work, whether the instructions are clear and whether someone else will be able to reproduce it. When I’m weaving, I don’t have to do any of that. I can simply choose a yarn, throw the shuttle and see what happens.
If you’d like to see more of my weaving experiments, I share regular updates every Weaving Saturday on Facebook and Instagram. I’d love for you to join me there.
Until next time, happy crafting!
Sue