Preparing to Craft

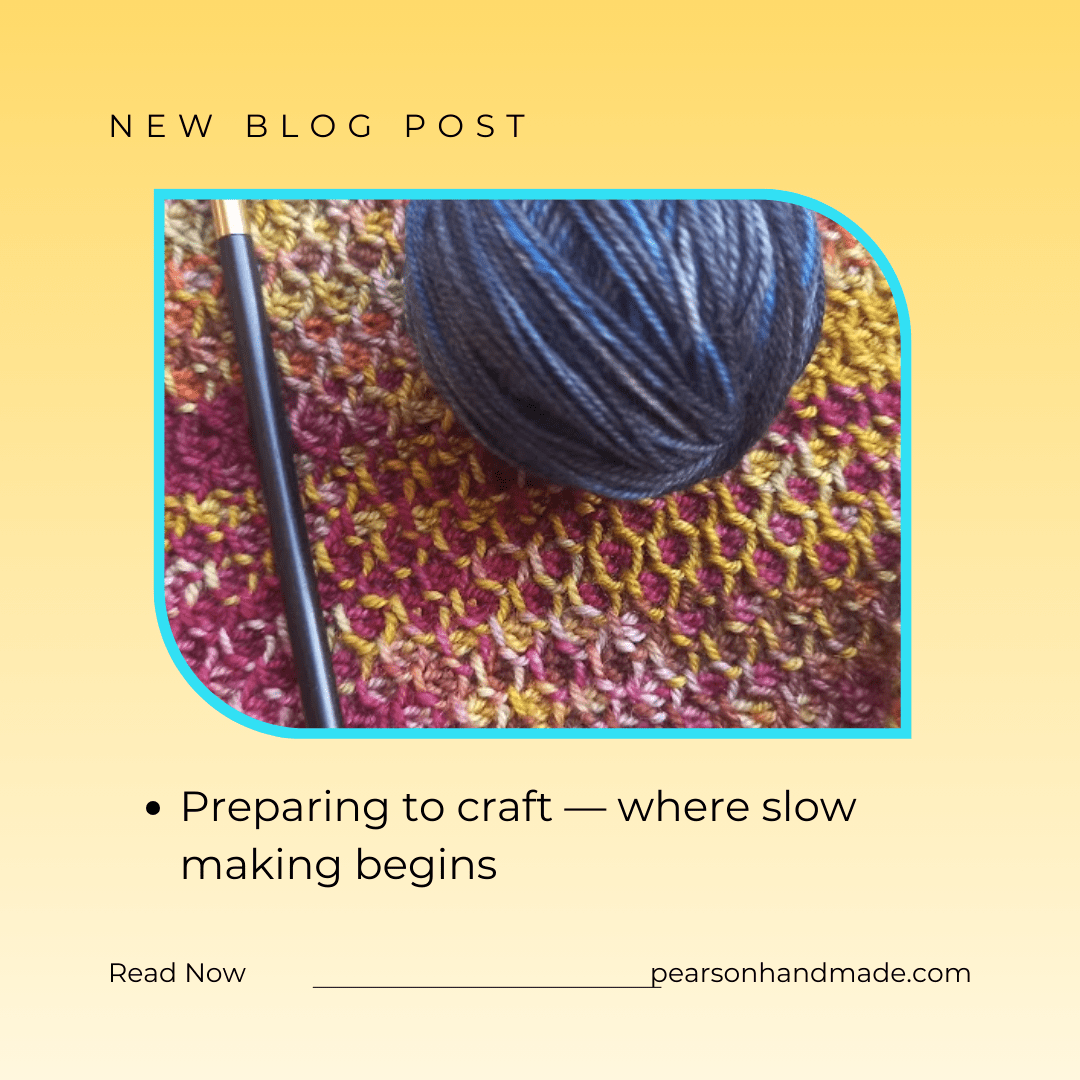
In my last blog post, I shared a few thoughts about different types of fibres. This week, I’d like to look at some of the small but important steps to take before you settle down to spend time crafting. For me, preparation is not a chore to rush through, but a quiet part of the making process in its own right.

Gauge

Sometimes gauge matters, and sometimes it really doesn’t. If you’re planning to make a fitted garment, it’s worth taking the time to work a sample using your chosen yarn and hook or needles. Nobody enjoys making a gauge swatch, but it’s far worse to spend hours on a project that turns out far too big or far too small.

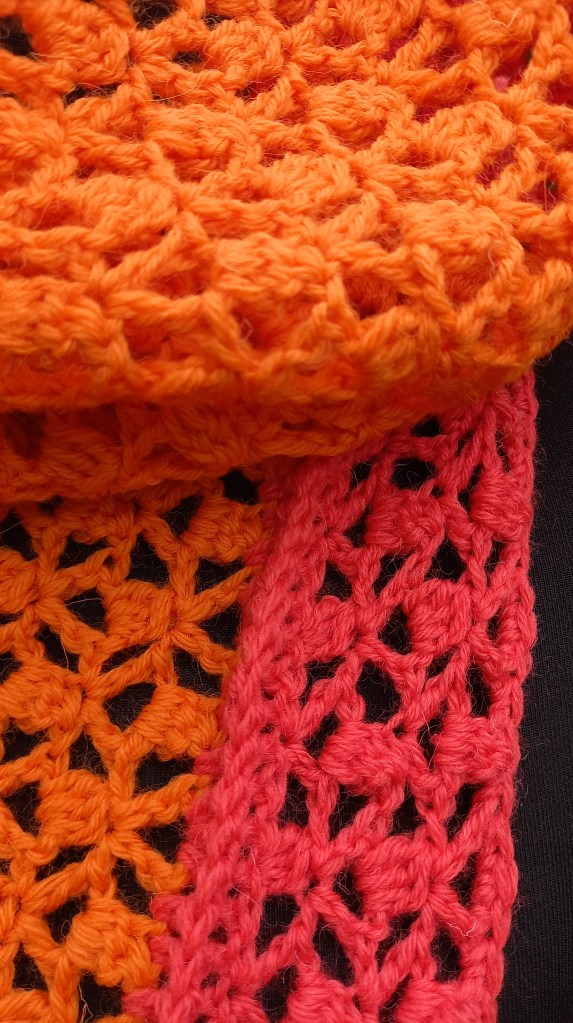
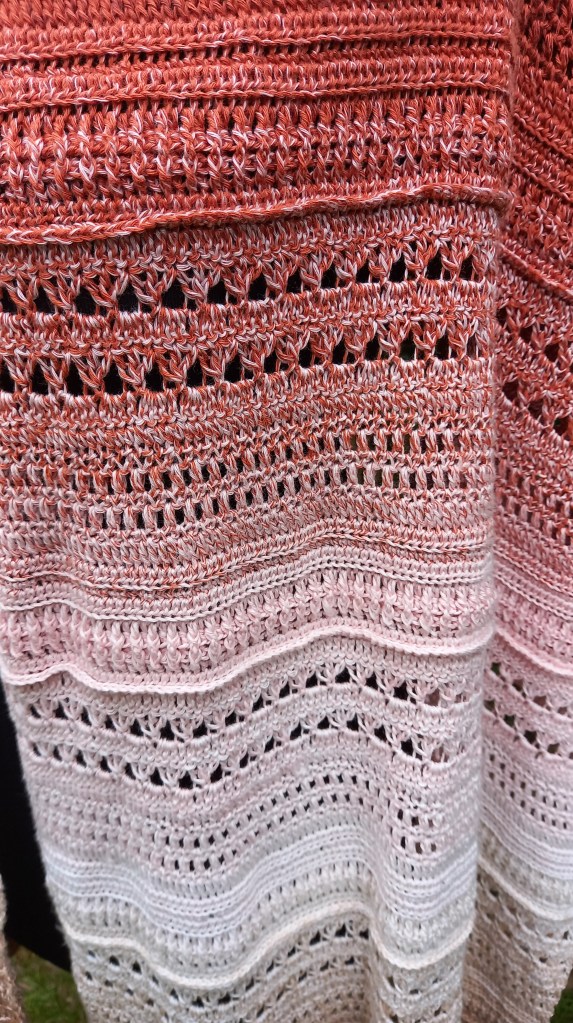
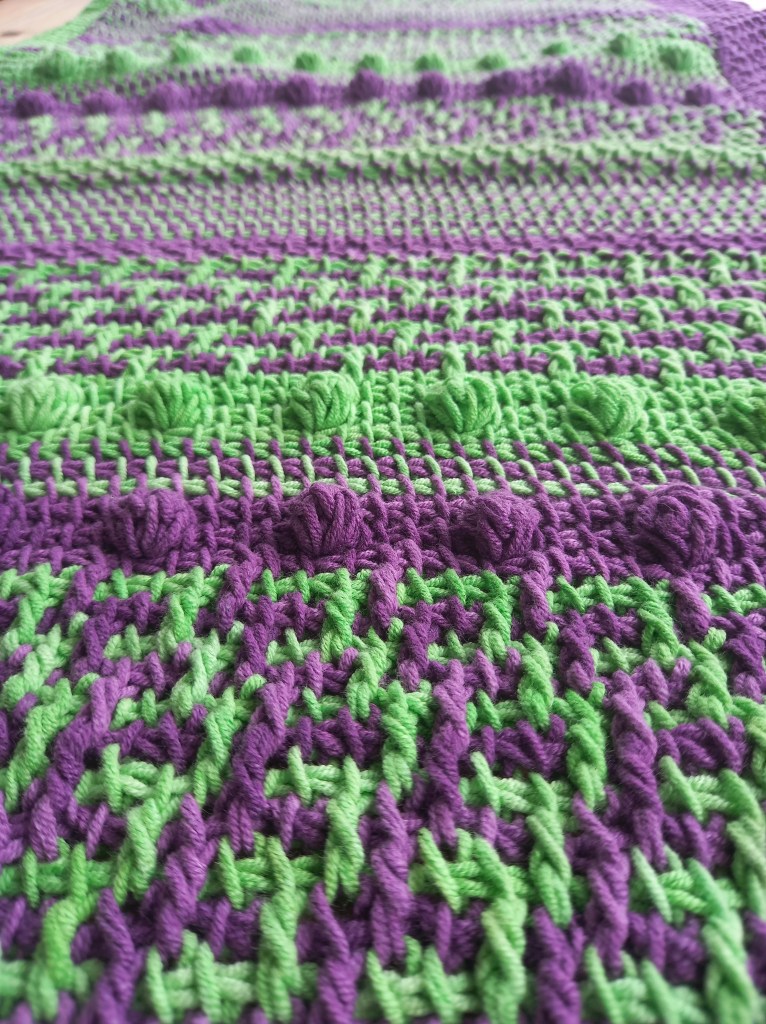
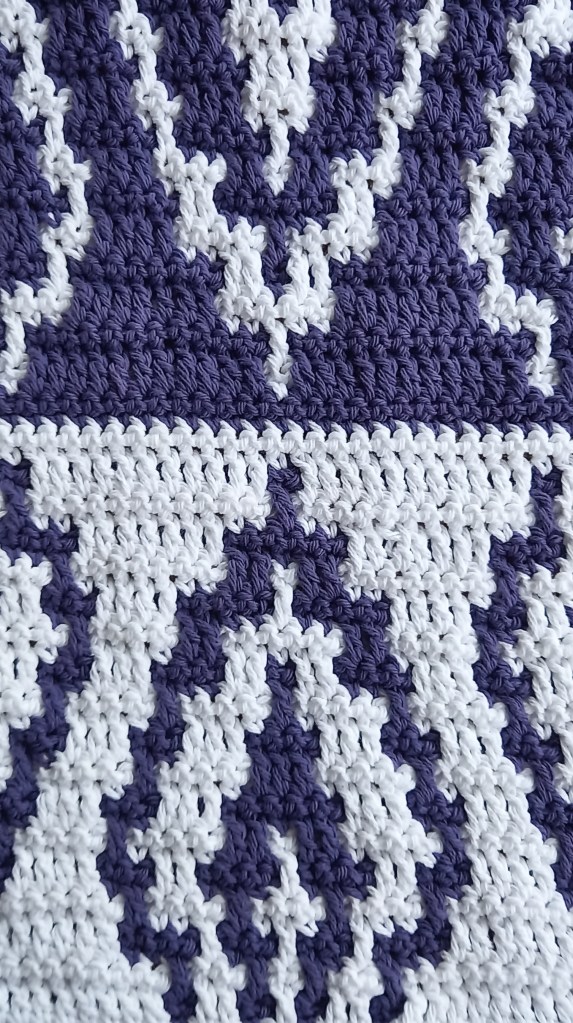
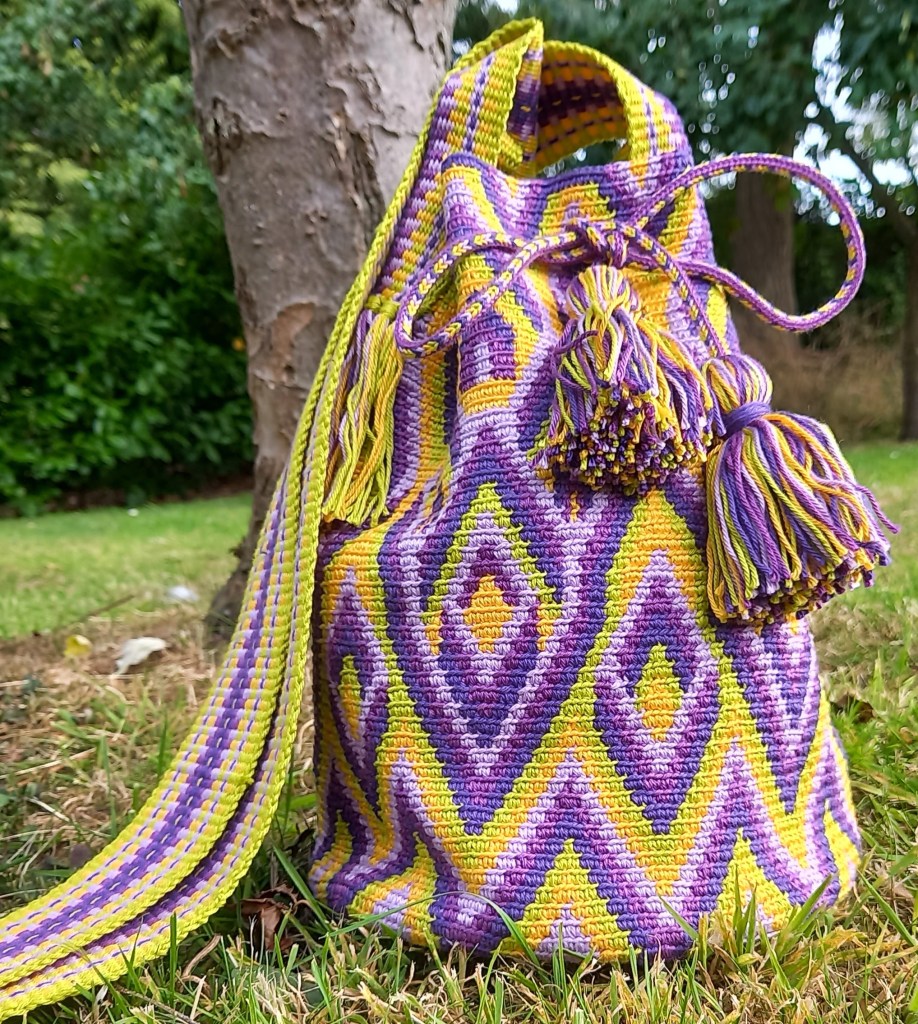
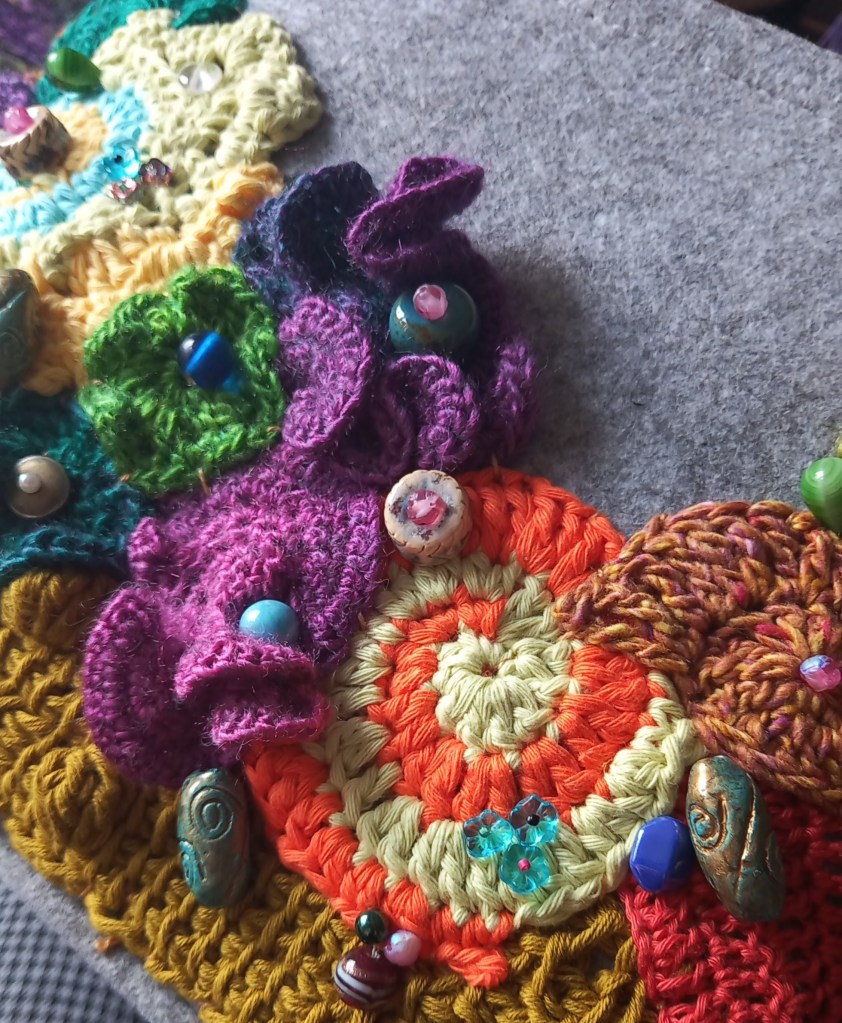
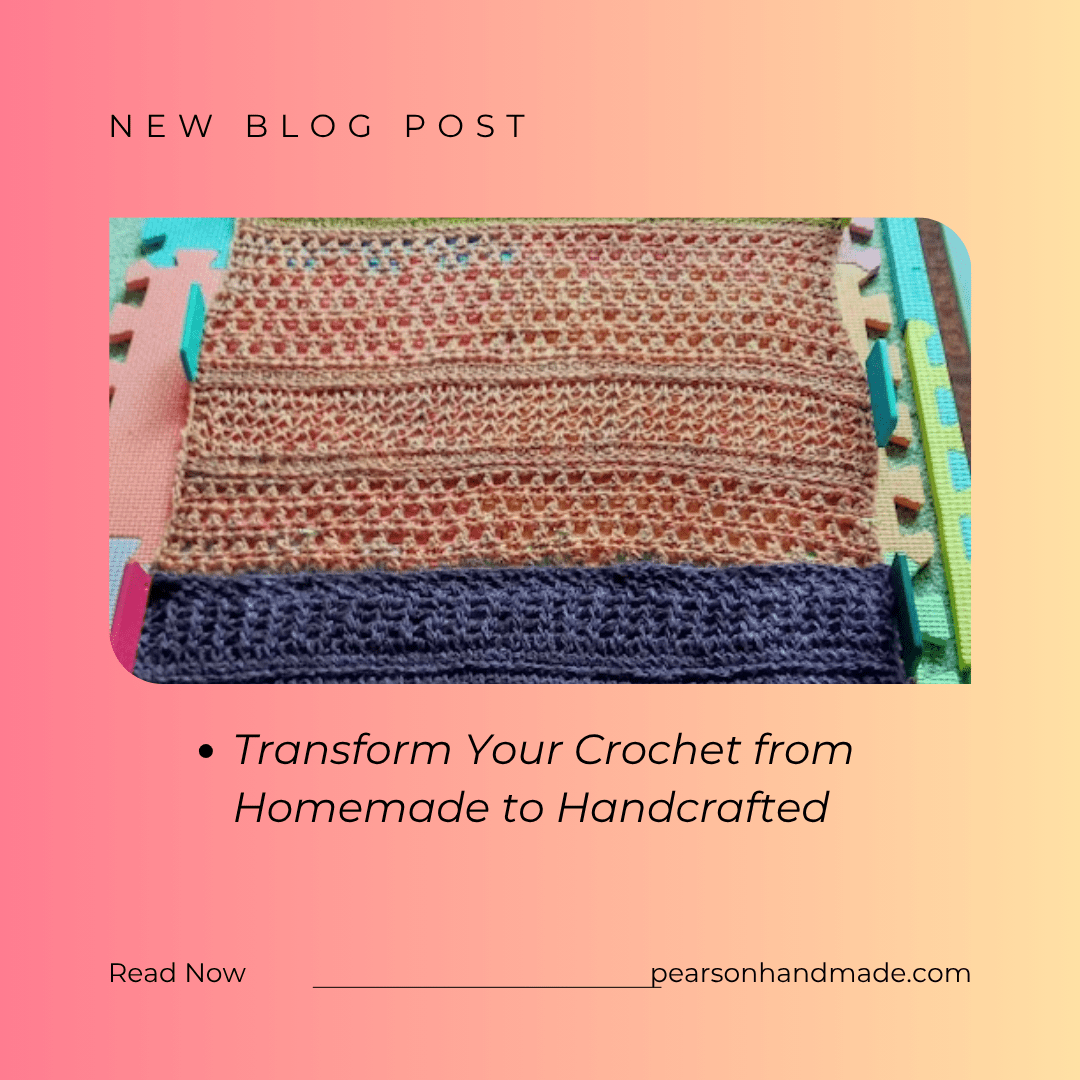
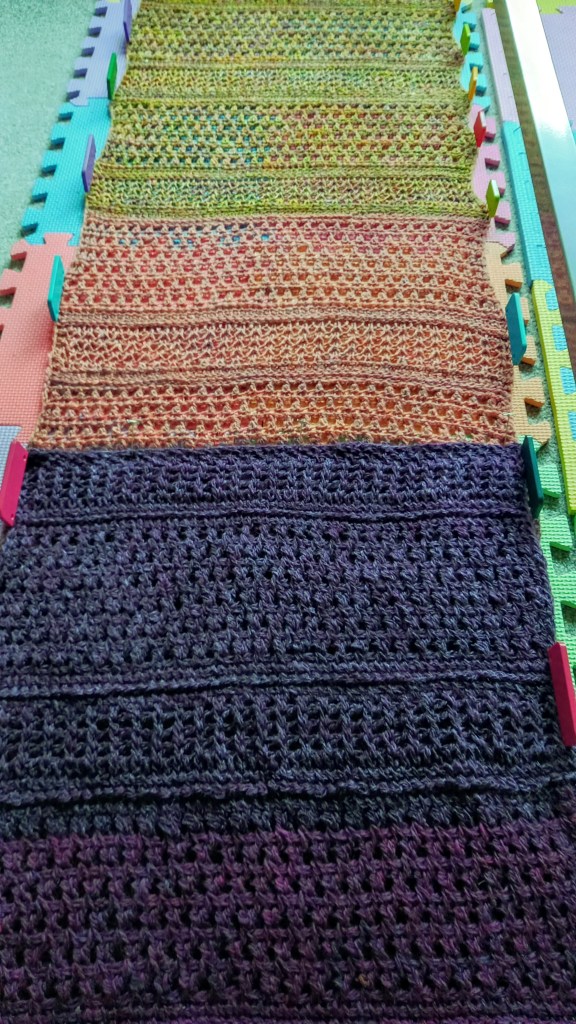
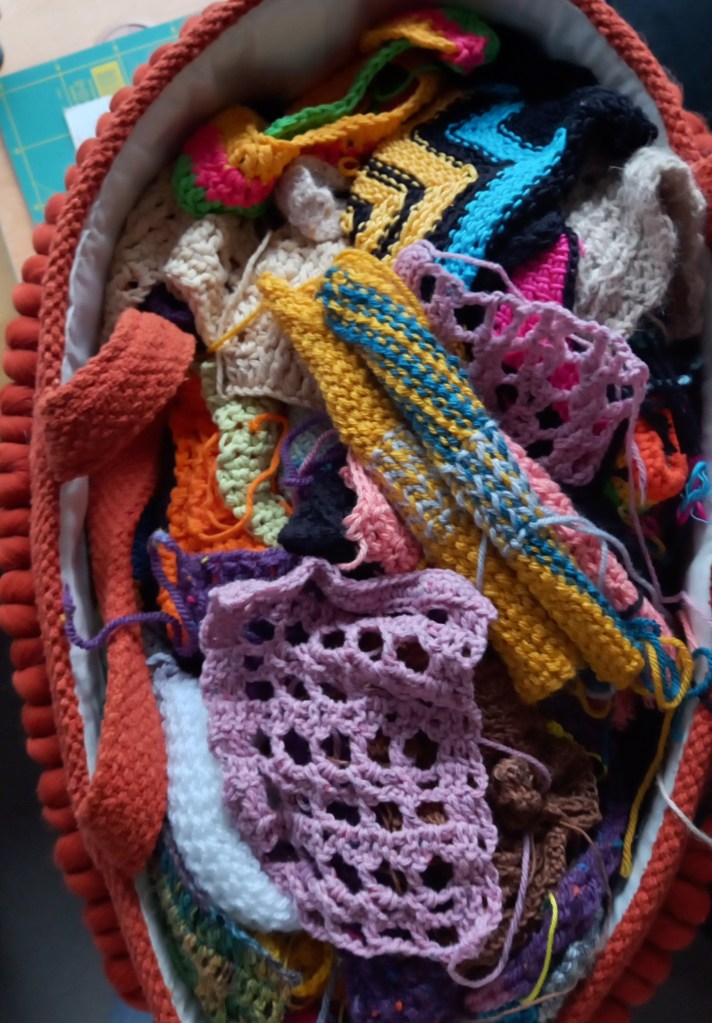
For items such as blankets, throws, or cushion covers, gauge is usually less critical. A few extra rows or stitches more or less will often make up any discrepancy. I have a small mountain of gauge samples and swatches which, when the mood takes me, I add to whichever freeform crochet project I’m working on.

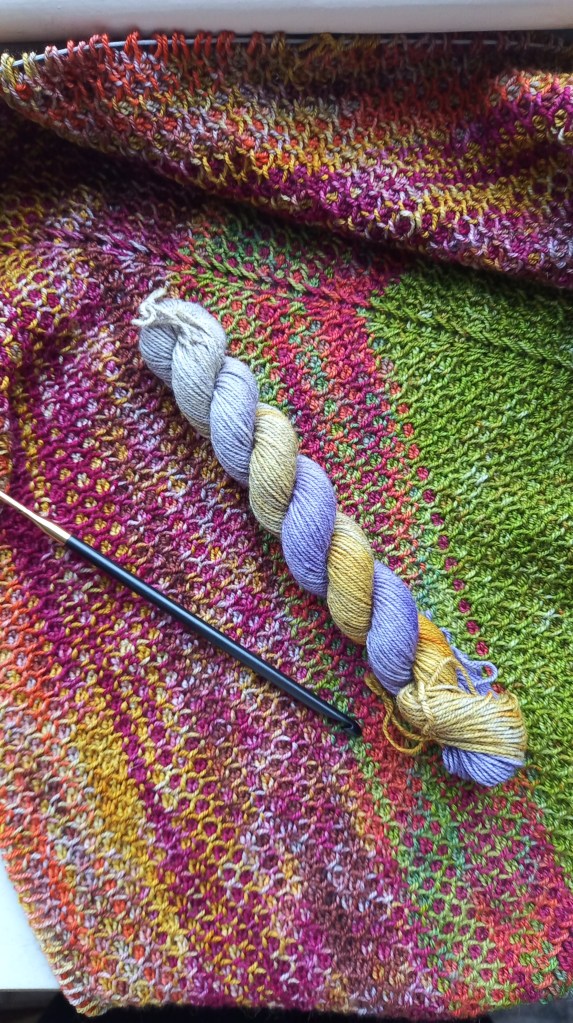
Yarn Balls and Skeins

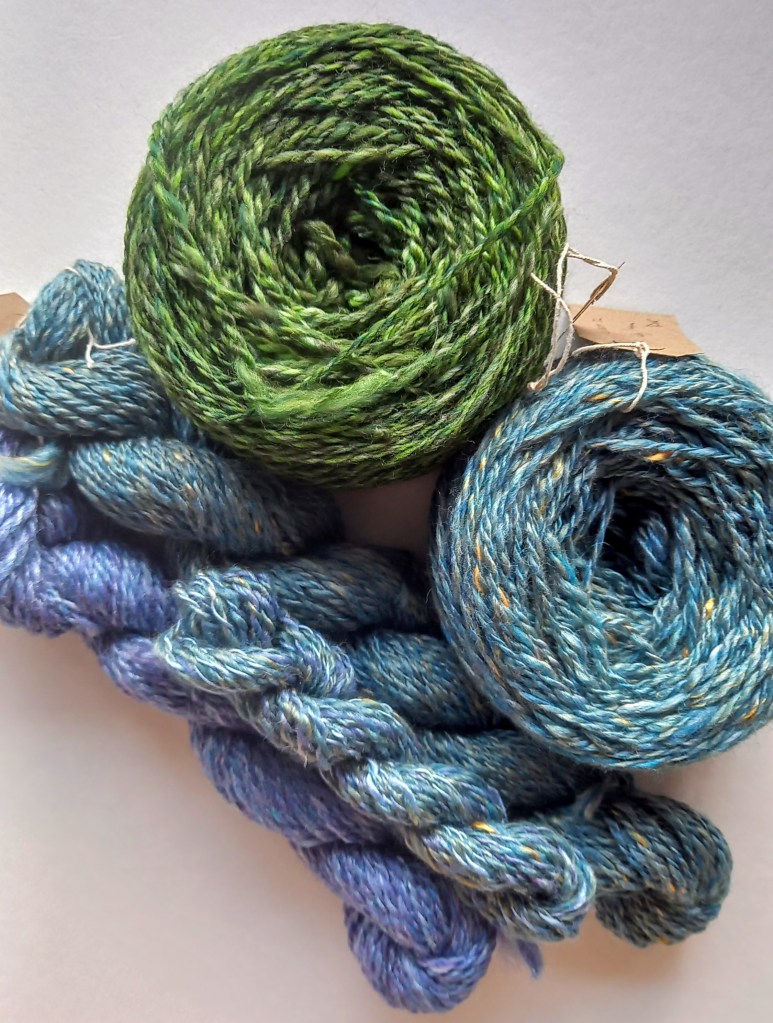
Some balls of yarn are designed for a centre pull, and others really aren’t. I quite like a centre pull, as it stops the yarn rolling around while I’m working. Sometimes you’re lucky and find the end with very little fuss; other times you’re rewarded with an impressive yarn barf, feeling as though you’ve disembowelled the ball entirely.

Some crafters wind all their yarn into neat cakes as a matter of course. I’m not one of those people — I tend to take my chances. That said, if you’re working with skeins, they absolutely must be wound into a ball or cake before use. Skipping this step is almost guaranteed to lead to tangled fibre and hours of unnecessary frustration.

Read the Pattern

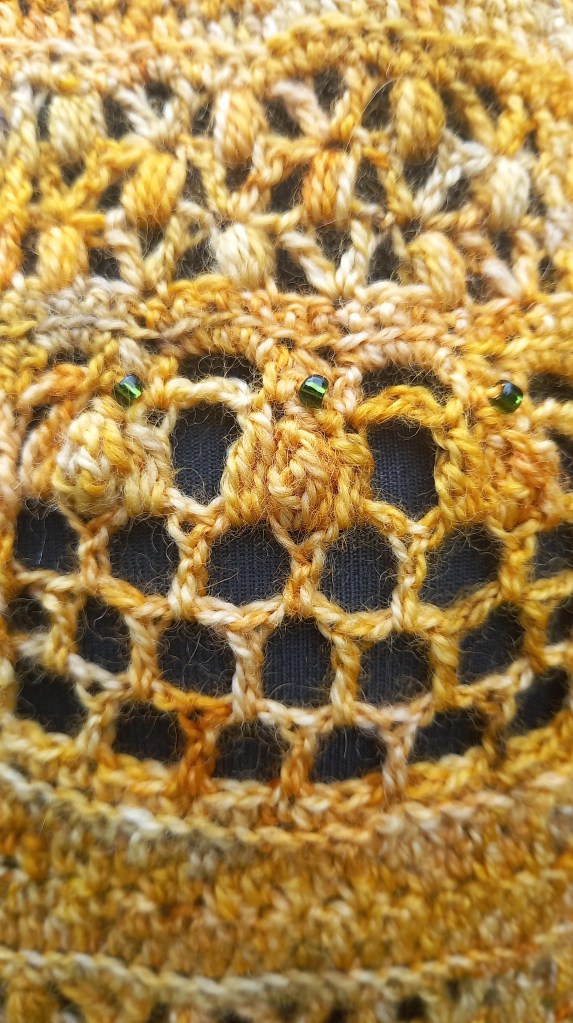
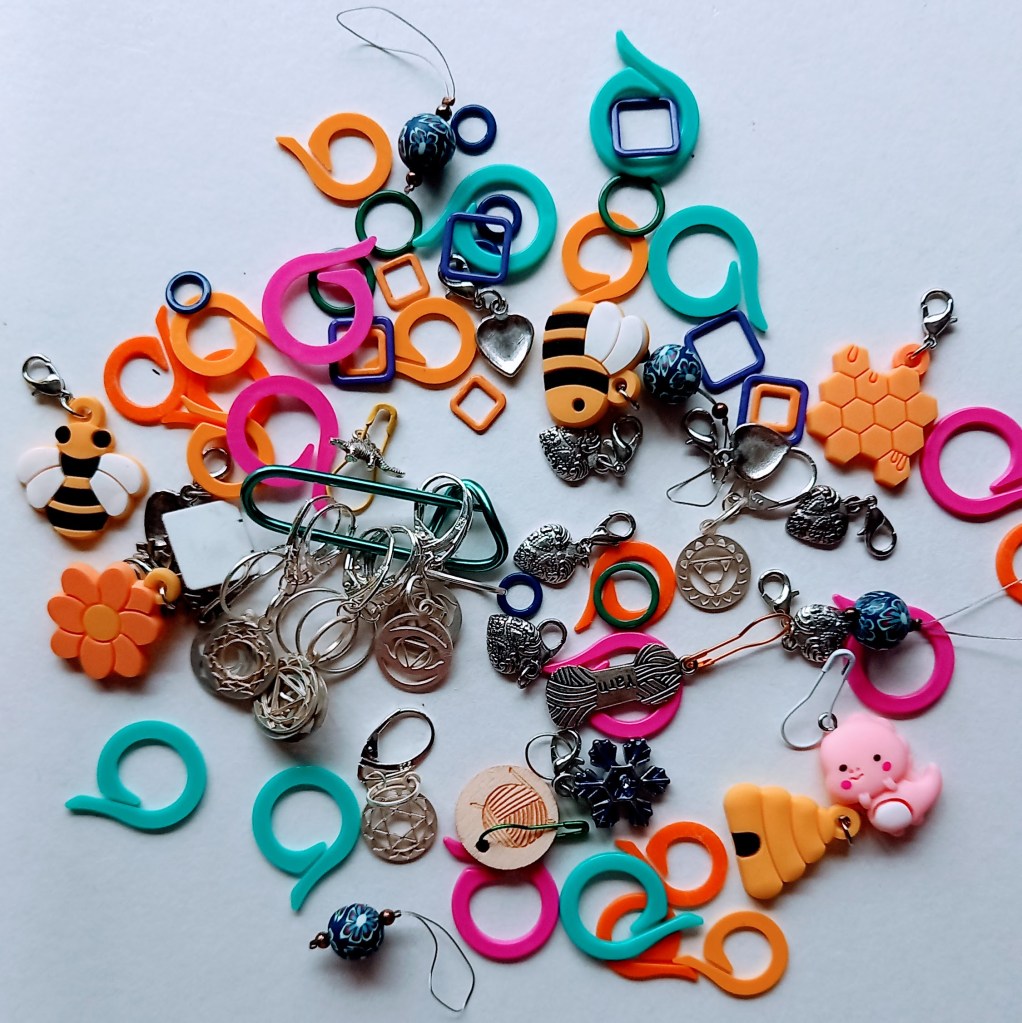
Before you begin, take a moment to read the pattern properly and make sure you have everything it calls for. Alongside needles or hooks, does it require stitch markers, cable needles, stitch holders, or beads? There’s nothing more frustrating than getting into a good rhythm, only to have to stop and wait for the shops to open because you’re missing a crucial item.
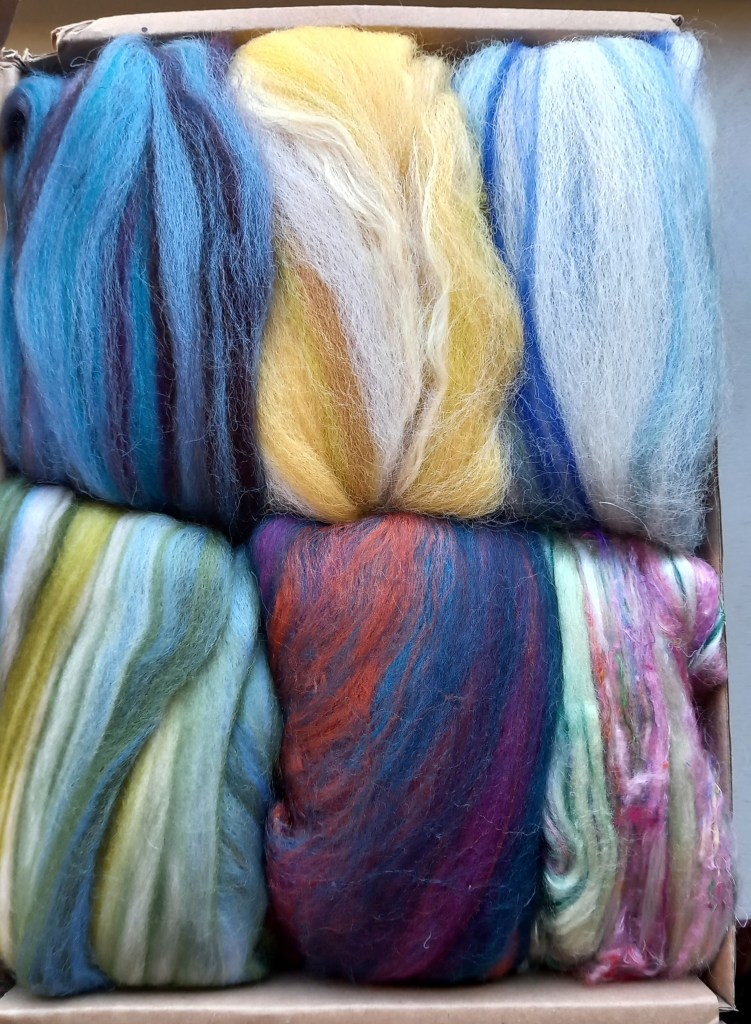
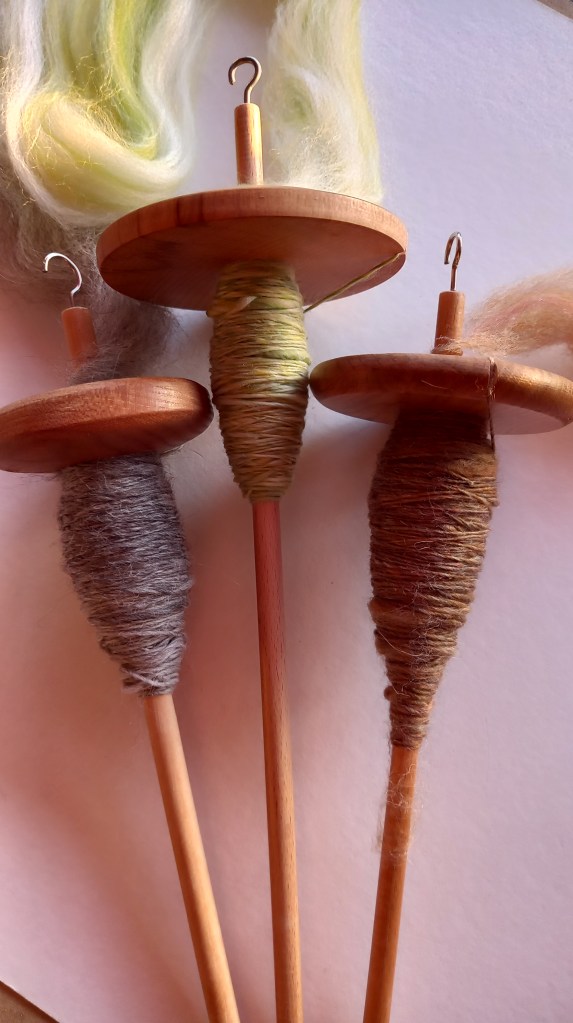
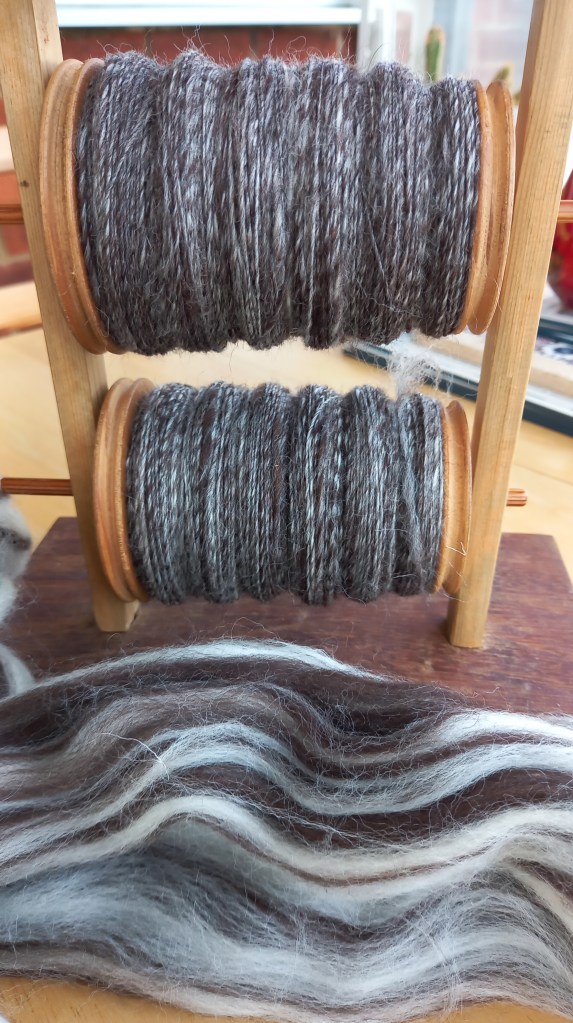
Spinning Fibre

When spinning, I usually work with combed tops. The best advice I ever received was to pre-draft — gently easing the fibres apart along their length between your hands, working down the fibre and back again. It makes the spinning process feel much easier and more controlled.

Once you’ve filled a bobbin with singles, let the fibre rest for at least 24 hours before plying. That pause really does make a difference.

Weaving Fibre

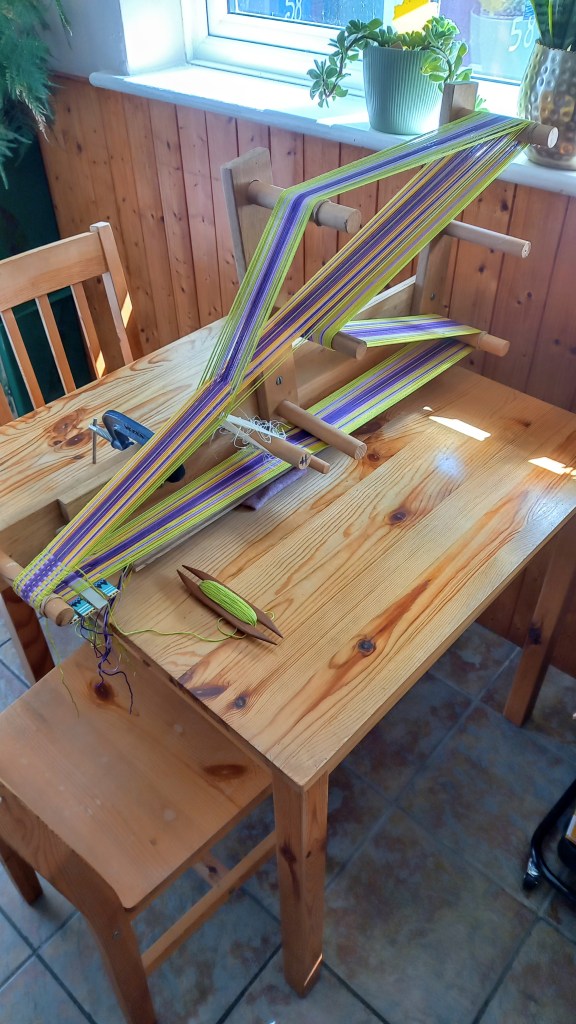
I weave on a rigid heddle loom, and once I’ve chosen the yarn for my warp, my next decision is the size/dent of the reed. I have a bamboo blind, cut to size, on the back beam, so that when I wind on the warp, the yarn spreads evenly. The warp has a huge impact on the finished fabric, so it’s worth taking your time here.


However you choose to spend your crafting time, I hope these reflections encourage you to enjoy the preparation as much as the making itself.

Happy crafting — and next time, I’ll be turning my focus to the tools I find most useful.

Sue

Exploring Fibres

In my last blog post I shared a few ideas for cosy crochet projects — the kind of slow, comforting makes that are perfect for chilly evenings. For this first post of 2026, I wanted to begin the year a little more thoughtfully, by turning my attention to the fibres themselves.

Over time, I’ve found myself increasingly drawn to natural fibres. Acrylic and other man‑made yarns certainly have their place — their colours can be wonderfully vibrant and they’re often more budget‑friendly — but when it comes to my own making, I tend to reach for cotton, wool and alpaca. There’s something about their texture, warmth and connection to nature that feels especially fitting for slower, more mindful crafting.

Cotton

The cotton yarn I use most often is King Cole Cottonsoft DK, which comes in a generous range of colours and features in many of my throw designs. As a natural plant fibre, cotton is soft, absorbent and biodegradable, making it a versatile choice for both knitting and crochet projects. Cotton resists pilling well, though it does have a tendency to stretch when wet and isn’t as elastic as some other fibres.

You may also notice some cottons described as mercerised — a chemical process that adds strength and a subtle sheen. A good example is Scheepjes Maxi Sugar Rush, which I enjoy using for crocheted mandalas, where stitch definition and lustre really shine.

Wool

Wool, shorn from sheep, is the traditional choice for knitting and crochet. It’s warm, durable and wonderfully adaptable, though it does require a little care — most of us have, at some point, accidentally shrunk a favourite jumper! Some wool yarns are labelled Superwash, meaning they’ve been treated so they can be washed more easily. I often buy indie‑dyed sock and DK yarns from Moonlight Fibre and Fruitful Fusion, typically blends of Superwash merino and nylon that balance softness with strength.

Alongside this, spinning is an important part of my practice. I enjoy making my own yarn from undyed or dyed combed tops, sourced from Adelaide Walker or Wingham Wools. The process deepens my connection to the fibre and gives me complete control over the finished yarn.

One of my more recent discoveries is a Yak Sock base from Noodle Soup Yarns — a blend of 70% merino, 20% yak and 10% nylon. The addition of yak creates a beautifully soft yarn, and I’ve been very impressed with how it feels and works up. It’s definitely one I’ll return to.

Alpaca

Alpaca is another natural animal fibre that I’m especially fond of. Softer than sheep’s wool and generally less prickly, it’s also hypoallergenic and resistant to pilling. Alpacas produce fleece in a range of natural shades — from white through to black and warm browns — which are lovely in their own right. Alpaca fleece can be spun into both fine and heavyweight yarns. I’ve previously used alpaca from Homefield Alpacas, and I’m currently knitting with King Cole Natural Alpaca, which is beautifully soft and a pleasure to work with.


However you choose to spend your crafting time, I hope these reflections encourage you to embrace slower making, warmer fibres, and projects that bring a little extra comfort at this time of year.

Happy crafting — and next time, I’ll be turning my focus to the preparation that happens before the making begins.

Sue

Cosy Crochet Projects for Chilly Evenings

Last week, I introduced you to my latest Tunisian crochet design, the Mistwood Hooded Scarf. This week, as the evenings draw in and the temperature drops, I wanted to share a few ideas for cosy crochet projects that are perfect for slow, comforting making on chilly nights.

For me, truly cosy projects begin with the yarn. Choosing fibres that feel warm, soft, and satisfying in the hands makes all the difference when you’re settling in for an evening of crochet.

One of my long-standing favourites is Drops Nepal, a wool and alpaca blend classed as an aran weight. It has a lovely warmth and weight, and because it’s aran, projects grow quickly – always a joy when the evenings feel short. I’ve recently designed a particularly cosy project using this yarn, which will appear in the next issue of Simply Crochet magazine, out on 23rd December.

I also regularly use King Cole Fashion Aran, which comes in a huge range of colours. With 30% wool, it’s a more affordable option, making larger projects such as blankets feel achievable without worrying too much about cost. More recently, I’ve discovered King Cole Merino Blend DK, a superwash 100% wool yarn that has worked up beautifully and feels wonderfully soft.

Of course, if you’re able to spin your own yarn, you can really lean into seasonal colours and textures. This very Christmassy Corriedale and sari silk blend from Adelaide Walker, called Medina, is a perfect example – full of depth, warmth, and character.

Once you’ve chosen your yarn, it’s time to find a project you’ll genuinely enjoy. A quick search on Ravelry using the yarn weight you have to hand will reveal plenty of hats, gloves, and scarves that work up quickly and make satisfying gifts. That said, I don’t think there’s much better than crocheting a blanket or throw at this time of year. The gentle weight of the fabric resting in your lap is incredibly comforting, and as the piece grows, you almost find yourself wrapped in its warmth.

Over the years, I’ve built up a small library of pattern books, and the ones I still return to most often include:

  • Crocheted Throws and Wraps by Melody Griffiths
  • The Art of Crochet Blankets by Rachele Carmona
  • Rainbow Crocheted Blankets by Amanda Perkins
  • Beautiful Blankets, Afghans and Throws by Leonie Morgan

If you’d like to try your hand at Tunisian crochet, Toni Lipsey’s The Tunisian Crochet Handbook is full of cosy, inspiring projects. One of my own bestselling patterns, the Winterborn Throw, is a Tunisian crochet design worked in Fashion Aran yarn and is ideal for slow winter evenings.

However you choose to spend your crafting time, I hope these ideas encourage you to embrace slower making, warmer fibres, and projects that bring a little extra comfort at this time of year.

Happy crafting until next time – which will be after the Christmas break, when I’ll be turning my focus to fibre.

Sue

New in the shop: introducing my Mistwood Hooded Scarf

Last week, I explored one of my favourite topics: colour — and how to spark your imagination when choosing palettes for your next project. This week, I’m excited to share something brand new: the journey behind my latest design, from that first tiny spark of inspiration right through to the finished piece.

The Mistwood Hooded Scarf began as a simple question I asked myself while playing with my handspun yarn: what if that cosy autumn wrap I’d just finished… had a hood? I’d been experimenting with Tunisian crochet stitches, enjoying the textures and the meditative rhythm, and the finished wrap had such lovely weight and drape that I couldn’t help imagining more.

But as these things often go, my first attempt taught me exactly what not to do! The original shawl was far too wide to fold into a hood — a quick try-on left me with fabric flopping in front of my eyes. Practical, it was not.

So I went back to the sketchbook and re-imagined the piece as a narrower scarf: still enveloping and warm, but proportioned perfectly for a folded hood. With that settled, I knew the next step was choosing the right yarn. I loved the feel of my handspun wrap, so I set out to find a worsted-weight yarn with a high wool content and good structure.

A browse through Wool Warehouse (dangerous, as always…) led me straight to Cascade 220. It ticked every box — and then came the matter of colour. I like to pretend I considered several options, but the moment I saw Lepidolite Heather, a soft purple with subtle depth, the decision was made. A quick bit of yarn maths told me I’d need four skeins. Maths isn’t my strongest skill, but happily, I was spot on.

The scarf itself worked up quickly. The hood folded neatly, just as I’d hoped. But it needed one final playful touch — something a bit whimsical. So I crocheted a set of curly “tails” to sit at the point of the hood. Completely unnecessary… and completely delightful. They made me smile, and I hope they’ll do the same for anyone who makes or wears this piece.

The pattern is now available in my Etsy shop and on Ravelry (hence this slightly late blog post!)..

Whatever colours or yarns you choose, I hope the Mistwood Hooded Scarf brings warmth, joy, and a little touch of magic to your making.

Happy crafting until next week, when I’ll be focusing on cosy crochet projects for chilly evenings.

Sue

Colour Inspiration for Crochet

Last week, I wrote about my twin passions of crochet and weaving. This week, I’m exploring one of my favourite topics: colour. Choosing colours for a new project can be exciting, but also a little daunting—and you definitely don’t need to stick to the shades shown in a purchased pattern or rely solely on self-striping yarns from the manufacturers.

Let’s look at a few ways to spark your colour imagination.


The Colour Wheel

A colour wheel is exactly what it sounds like—a circular diagram showing the three primary colours and the shades between them. Many wheels also highlight pairs of opposite colours known as complementary colours. These pairings often create bold, high-contrast combinations, such as the pink and pale green I used in my Haworth Wrap.

Using the same wheel, you can also explore Diad schemes: colours that sit two steps away from each other. These pairs offer a harmonious blend. My Tracery Cowl, worked in shades of red and orange, is a lovely example of how this method can bring warmth and depth to a design.


Nature as Your Palette

Sometimes the best colour advice is simply to step outside. A walk in the garden, a woodland path, or even a changing hedge line can ignite instant ideas. Take the rich, russet tones of a beech hedge in autumn—those very colours inspired the palette for my Bracken Scarf. Nature rarely gets it wrong, and its combinations are endlessly adaptable to yarn.


Reference Books & Tools

When I’m sifting through my yarn stash and want fresh ideas for pairing shades, I often reach for Haruyoshi Nagumo’s book ‘Swatch This’. It’s full of clever palettes that help me see familiar colours in new ways. This approach guided my choices for the Isel Throw, bringing together tones from my stash yarn that I might not have paired instinctively.


Whichever colours speak to you, I hope they bring joy to your making.

Happy crafting until next week, when I’ll be focusing on one of my latest designs.

Sue

Crocheter or Weaver – Which Are You?

Last week, I wrote about blocking and how to give your finished projects a truly professional finish. This week, I’m exploring the two crafts I spend most of my time with: crochet and weaving. Both bring me so much joy, but in very different ways.


Crochet: My First Craft Love

My mum taught me to crochet when I was in Primary school. I still remember making long chains to use as ties for a classroom project! Crochet has stayed with me ever since—partly because it’s incredibly versatile, and partly because it’s so portable. One hook and a ball of yarn can go anywhere.

Over the years, I’ve explored lots of different crochet styles, and each one offers something unique:

Standard Crochet

Probably the most familiar style, with a huge range of stitches to create texture, lace, or dense fabrics—whatever your project calls for. Patterns range from simple and soothing to wonderfully challenging, using both written instructions and charts.

Tunisian Crochet

One of my favourites. This style uses a long hook (or one with a cable) to hold multiple loops, almost like a hybrid of crochet and knitting. When worked flat, you keep the right side facing and alternate a Forward Pass and Return Pass. It’s also lovely worked in the round for throws or tall cowls. I learned this technique from books and from Toni Lipsey’s excellent YouTube tutorials.

Mosaic Crochet

There are two main types: inset and overlay mosaic.

  • Inset mosaic uses simple stitches and two colours on alternate rows—no endless ends to sew in! Esme Crick’s Mosaic Crochet Workshop is a fantastic introduction.
  • Overlay mosaic is more complex and creates those dramatic, slanting patterns. Each row is cut at the end, so there are plenty of ends to deal with, but the results are stunning. Alexis Sixel’s Dark and Dramatic Mosaic Crochet is a brilliant guide.

Mochila Bag Crochet

This technique creates sturdy drawstring bags, often paired with a woven strap—a perfect blend of the two crafts I love. It’s a slow, meditative process, and I can’t recommend Marion Verloop’s Facebook group, Mochila Style Crochet, highly enough—the files section is a treasure trove.

Freeform Crochet

Anything goes! I learned freeform crochet at my local wool shop, and I love making small motifs and joining them onto bags or felt boxes as decoration. It’s improvisational, creative, and wonderfully freeing.


Weaving: A Newer Creative Journey

Compared to crochet, I’m still relatively new to weaving.

I first learned inkle weaving when I discovered Mochila bags, as it’s the traditional technique for making the straps. My husband even built me a loom from shed scraps during the Covid lockdown—and it’s still going strong!

In the summer of 2024 I moved on to a rigid heddle loom so I could create scarves and shawls. Mine lives on the kitchen table, always warped and ready to go. I’ve experimented with patterns, but I’ve realised that for me, weaving is a way to decompress. Rather than counting picks or following charts, I weave whatever I’m feeling, usually resulting in organic, random stripes in beautiful yarns.

Lately, I’ve also started exploring off-loom weaving, using interesting stones I find on my walks as the base. These tiny woven pieces scratch a completely different creative itch, and for these, I do enjoy following a set pattern. If you’re curious, Lark and Bower offer excellent online classes.


Whichever craft speaks to you—crochet, weaving, or both—I hope you find joy in the making.
Happy crafting until next week, when I’ll be sharing some of my favourite colour combinations.

Sue

Blocking Basics: The Secret to Professional-Looking Crochet

Last week, I wrote about one of my favourite patterns — from first draft to finished item. This week, I’d like to share some techniques for finishing a crochet project and making it look its very best.

You’ve spent time and money on the pattern, the yarn, and maybe even a new hook. You’ve put in hours (perhaps with a bit of frogging along the way), and now your piece is finally finished. But maybe it’s looking a little bedraggled or rumpled. You know you had clean hands every time you picked it up, yet somehow it’s a touch grubby. Or perhaps, when you lay it flat, the edges lift or the stitches look uneven.

This is the perfect moment to consider blocking — but where to start?


What is Blocking?

Blocking is the process of using moisture and pins to shape and set your crochet so it looks neat, even, and professional. It helps your stitches relax into place, evens out tension, and gives your finished item that “just off the runway” look.


Choosing a Blocking Surface

Any flat, pinnable surface will do. You can buy specialist blocking boards (some even have handy grid markings), but many are quite expensive. I use large foam ‘jigsaw’ mats — the kind often sold as playmats for children. They come apart for easy storage, fit together in whatever shape you need, and take pins well without absorbing moisture. I’ve been using the same set for years, and they’re still going strong.


Adding Moisture: Three Main Methods

1. Wet Blocking
This is my preferred method. I keep a washing-up bowl just for blocking, and mix a little Eucalan (a gentle, no-rinse wool wash) with warm water. I submerge the finished piece for about five minutes, then lift it out and squeeze gently — never wring. Lay it on a towel, roll it up, and press to remove excess water. Then it’s ready to pin out on your chosen surface.

2. Spray or Towel Blocking
If you’re worried about colour running, or if your project is large (like a blanket), you can pin it out dry and then add moisture. Cover it with clean, damp tea towels or use a spray bottle to mist the surface evenly.

3. Steam Blocking
A hand-held steamer can be useful, especially for easing kinks out of fringes or smoothing creases from stored items. I’ve had mixed results using steam for full blocking, but it’s worth experimenting — every fibre behaves a little differently.


Pins and Tools

T-pins are the classic choice. They pierce and hold the fabric easily and are simple to remove once your piece is dry. Choose rust-resistant ones, since they’ll be sitting in damp fabric for a day or two.

I also like using knit blockers — lines of pins fixed in a plastic grip — which help to keep edges perfectly straight. For curved edges, flexible blocking wires can be a game-changer, letting you shape a smooth curve without dozens of tiny adjustments.


Blocking takes a little extra time, but it can transform your project. You’ll be amazed at the difference a gentle bath and careful stretch can make.

Happy crafting until next week — when I’ll be sharing some of my favourite crochet and weaving techniques!

Sue

The Story Behind a Pattern Design: The Leilany Tricolour Throw

The Story Behind a Pattern Design: The Leilany Tricolour Throw

Last week, I shared my design process and where some of my ideas come from. This week, I’d like to take you through one of my favourite patterns, from first draft to finished item.

I enjoy visiting art galleries, and have several art books at home for reference. One painting that caught my eye was Arithmetic Composition by Theo Van Doesburg — striking black squares on a white background. I played around in my sketchbook with geometric variations, then began translating some of those ideas into crochet stitches. Many didn’t quite work (I’ll be honest), but eventually I created a few sample swatches that showed real promise.

The next decision was the colour palette. I could, like the original painting, have restricted myself to black and white, but I wanted to introduce colour. Often I’ll refer to a colour wheel or one of my trusty reference books when choosing combinations. For this design, I settled on three colours — purple, blue, and gold — a trio that felt rich and balanced, offering contrast without overpowering the geometric shapes.

Yarn choice is another major consideration. This was going to be one of the largest throws I’d ever made, so I had to balance quality with cost — both for myself and for anyone who might make it. Although I’m moving toward natural fibres, there’s still a place for a wool/acrylic blend. Aran yarn is particularly satisfying for larger projects because it grows quickly, so I chose King Cole’s Fashion Aran range. This UK company kindly supplied the yarn I needed.

Notebooks are key when I’m designing (you can never have too many, in my opinion). I keep one beside me as I work, jotting down the pattern row by row. For a large design like this, once I’ve finished one full pattern repeat, I’ll type up my notes and work from the printed page, checking that what I’ve written down makes sense as I go.

Then comes the finishing stage — weaving in ends, blocking (more about that next week), photographing, checking everything (and checking again), and finally, publishing. The whole process takes time, but I enjoy every minute of it.

Sometimes the hardest part is choosing a name for the pattern! When I finished this design, I was working through an alphabetical list of girls’ names — hence the Leilany Tricolour Throw. More recently, I’ve been asking my AI assistant for name ideas, which has definitely taken some of the pressure off.

Next week, I’ll share some of my favourite tips for blocking your work for the best possible finish. In the meantime, happy crafting.

Sue

Behind the Design: How My Crochet Ideas Take Shape

Last week, I shared how I spin my own yarn. This week, I’d like to take you behind the scenes and show how a finished design comes to life.

Like every other crafter I know, I can’t resist a beautiful skein of yarn. Over time, I’ve learned that those special hand-dyed skeins are most useful when I buy them in pairs. Sometimes, a design begins with the yarn itself — those gorgeous skeins might sit in my stash for months before inspiration strikes. When an idea finally hits, I’ll work up a small swatch in a similar weight yarn to see if it has merit. I use that swatch to estimate the finished size, then calculate the length of my foundation row.

That’s when the graph paper comes out! I like to plan out stitch placement before diving in. Once that’s done, I’ll cake up the skein (never work directly from a skein — that way only leads to pain and frustration!).

Other times, inspiration comes from the name of a shade. For example, the “Death by Honey” yarn I picked up at The Wool Monty immediately made me think of bees and honeycomb — and my Fractured Bee Line Scarf was born.

Then there are moments when I just want to try out a new stitch. At such times, stitch dictionaries are a must-have. I can spend many happy hours browsing and doodling stitch patterns together. Sometimes they work beautifully in a sample, but not always. I’ve learned it’s better to abandon an idea that isn’t working than to persist and try to “fix” it.

Occasionally, I’m intrigued by an unusual shape. My Falcate Shawl, for instance, grew out of a desire to play with increases along just one edge of the design.

With Tunisian crochet, I often design directly on the hook. I’ll choose a yarn and an appropriate needle size, usually starting with honeycomb stitch to prevent the curling that’s so common in this technique. From there, I simply see where inspiration takes me — as it did with my Celebration Scarf.

In the same way, with weaving, I love to design on the loom. I’ve found that I enjoy plain weave with inclusions of handspun yarn and stripes, and I like to play as I weave — watching the design evolve with each pass of the shuttle.  You can see the effect on the shawl here, one I made for myself.

Next week, I’ll share the story behind one of my most popular designs — where the spark came from a picture in a gallery and how it grew into a finished piece.

In the meantime, happy crafting.

Why I Spin My Own Yarn

Thank you to everyone who read my first blog post. I thought for my second post, I’d talk about why I spin my own yarn — one of the most rewarding (and sometimes challenging!) parts of my fibre journey.

Initially, I thought a little handspun yarn would add some interesting texture to my crochet and woven projects. So, for Christmas 2023, I asked for a drop spindle kit from Adelaide Walker — a simple spindle, a sheet of instructions, and three fibres to practise with.

I got the basics, but really struggled to make a yarn that was at all useable. I watched a lot of YouTube videos (JillianEve was particularly good), and found the book Yarn Spinning with a Modern Twist by Vanessa Kroening very helpful too. In the end, though, nothing beats a bit of individual tuition, so I spent a couple of hours with the very lovely Zoe at Old School Crafts in Minting.

Drop spindles are wonderfully portable — you can spin almost anywhere — and they range from cheap, homemade versions to beautifully crafted works of art. I have both. They seem to breed.

My drop spindles satisfied my need to make yarn for a while, and the material I produced added interesting texture to my woven projects. But I struggled to make enough to crochet with. So, in February 2025, I took the plunge and bought a used Ashford Traditional spinning wheel. Another sharp learning curve followed — more books, more YouTube videos — but persistence paid off.  I can recommend Sasha Torres at Sheepspot for her tutorials and podcasts.

I now spin a little every day, and over time my yarn has improved enough to crochet with. I’ve even written a crochet pattern, the Pebble and Loop Scarf,  specifically for my handspun! Like the drop spindles, my spinning wheels are multiplying — I recently added an Ashford Traveller 3 so I can take it to classes and work on improving my technique.

Plying is still a bit of a mystery to me, and definitely something I need to work on. But part of the joy of spinning is that there’s always more to learn.  Do you spin your own yarn, or have you ever been tempted to try?

Thanks for reading to the end. Next week, I’ll be sharing how I design for my crochet and weaving projects. In the meantime, happy crafting!

Sue