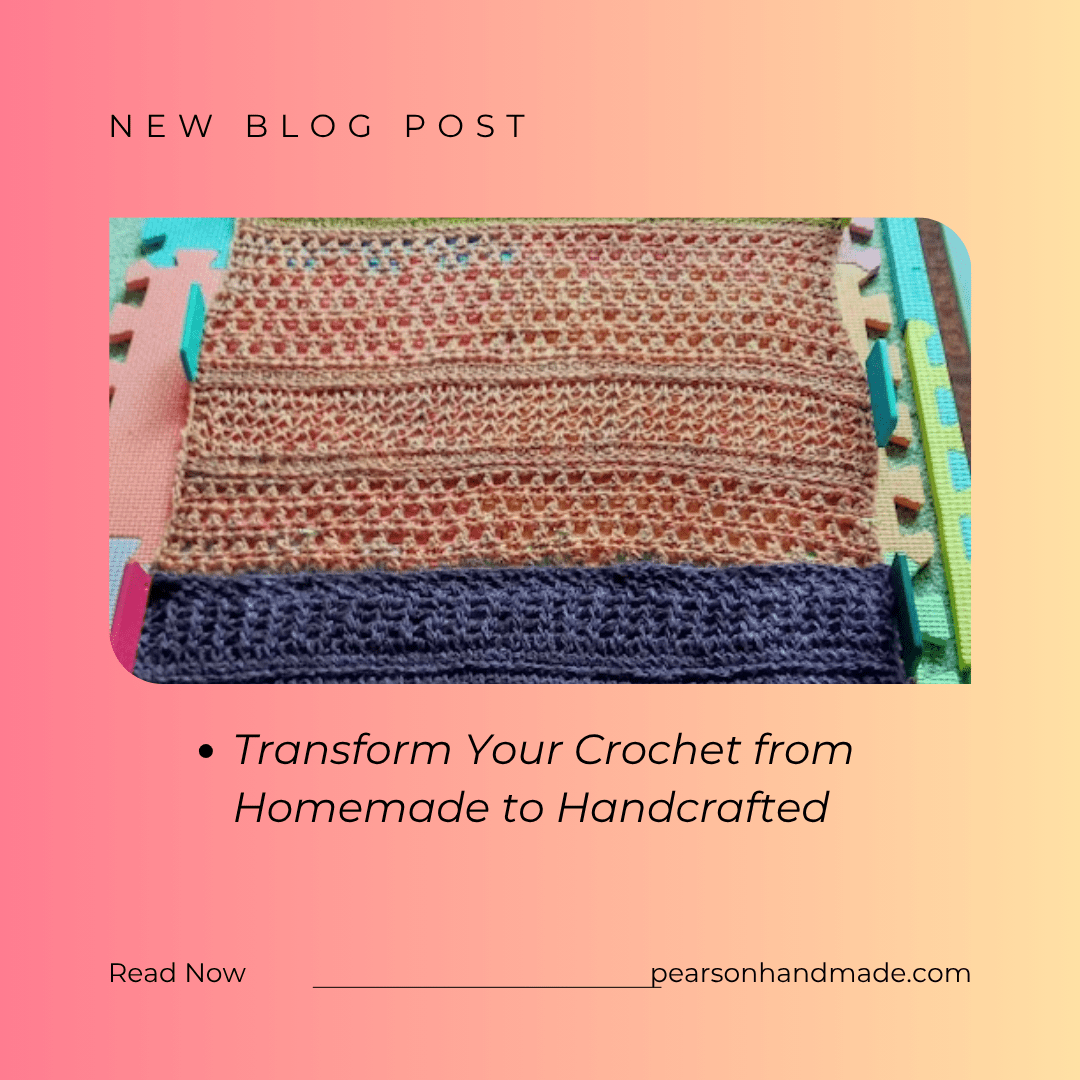
Last week, I wrote about one of my favourite patterns — from first draft to finished item. This week, I’d like to share some techniques for finishing a crochet project and making it look its very best.
You’ve spent time and money on the pattern, the yarn, and maybe even a new hook. You’ve put in hours (perhaps with a bit of frogging along the way), and now your piece is finally finished. But maybe it’s looking a little bedraggled or rumpled. You know you had clean hands every time you picked it up, yet somehow it’s a touch grubby. Or perhaps, when you lay it flat, the edges lift or the stitches look uneven.
This is the perfect moment to consider blocking — but where to start?
What is Blocking?
Blocking is the process of using moisture and pins to shape and set your crochet so it looks neat, even, and professional. It helps your stitches relax into place, evens out tension, and gives your finished item that “just off the runway” look.
Choosing a Blocking Surface
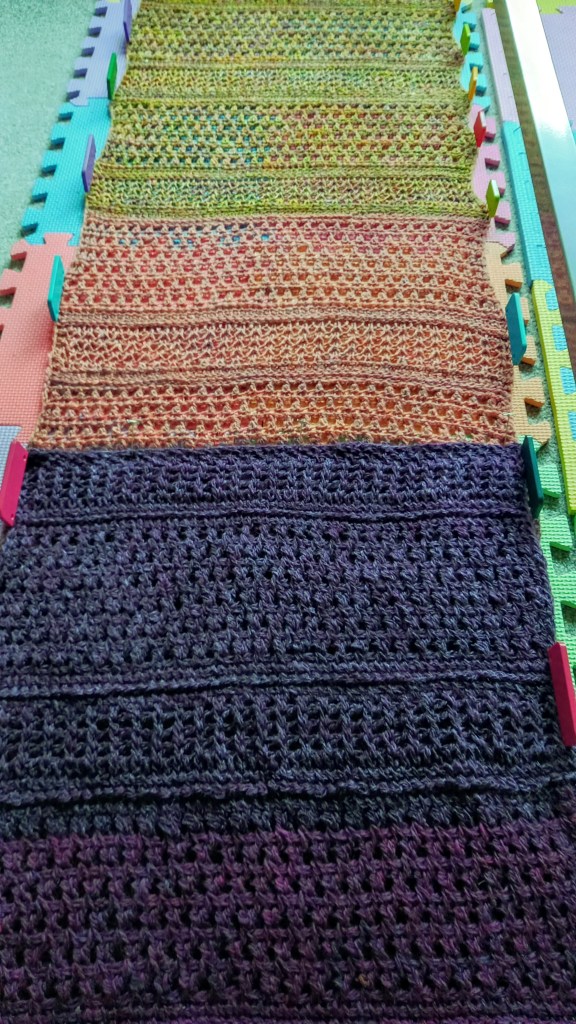
Any flat, pinnable surface will do. You can buy specialist blocking boards (some even have handy grid markings), but many are quite expensive. I use large foam ‘jigsaw’ mats — the kind often sold as playmats for children. They come apart for easy storage, fit together in whatever shape you need, and take pins well without absorbing moisture. I’ve been using the same set for years, and they’re still going strong.
Adding Moisture: Three Main Methods
1. Wet Blocking
This is my preferred method. I keep a washing-up bowl just for blocking, and mix a little Eucalan (a gentle, no-rinse wool wash) with warm water. I submerge the finished piece for about five minutes, then lift it out and squeeze gently — never wring. Lay it on a towel, roll it up, and press to remove excess water. Then it’s ready to pin out on your chosen surface.

2. Spray or Towel Blocking
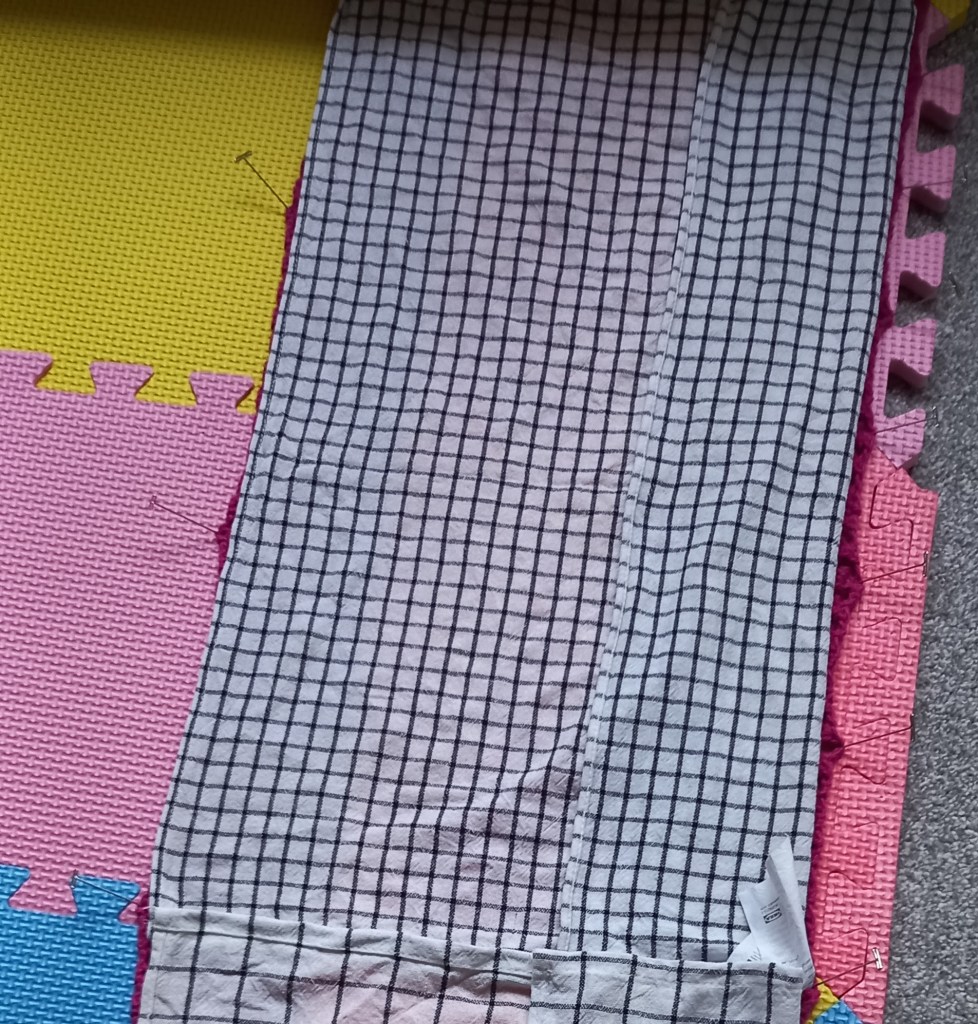
If you’re worried about colour running, or if your project is large (like a blanket), you can pin it out dry and then add moisture. Cover it with clean, damp tea towels or use a spray bottle to mist the surface evenly.
3. Steam Blocking
A hand-held steamer can be useful, especially for easing kinks out of fringes or smoothing creases from stored items. I’ve had mixed results using steam for full blocking, but it’s worth experimenting — every fibre behaves a little differently.
Pins and Tools
T-pins are the classic choice. They pierce and hold the fabric easily and are simple to remove once your piece is dry. Choose rust-resistant ones, since they’ll be sitting in damp fabric for a day or two.
I also like using knit blockers — lines of pins fixed in a plastic grip — which help to keep edges perfectly straight. For curved edges, flexible blocking wires can be a game-changer, letting you shape a smooth curve without dozens of tiny adjustments.

Blocking takes a little extra time, but it can transform your project. You’ll be amazed at the difference a gentle bath and careful stretch can make.
Happy crafting until next week — when I’ll be sharing some of my favourite crochet and weaving techniques!
Sue
